Appearance
Adding a Contact Form for Every Property Paid Feature
If you want to allow visitors to contact you about a specific property, you can add a contact form to each property listing. This way, visitors can easily inquire about a property without navigating away from the listing.
Paid Feature
Contact forms are available in all paid plans. If you're on the free plan, you'll need to upgrade to access this feature.
Example
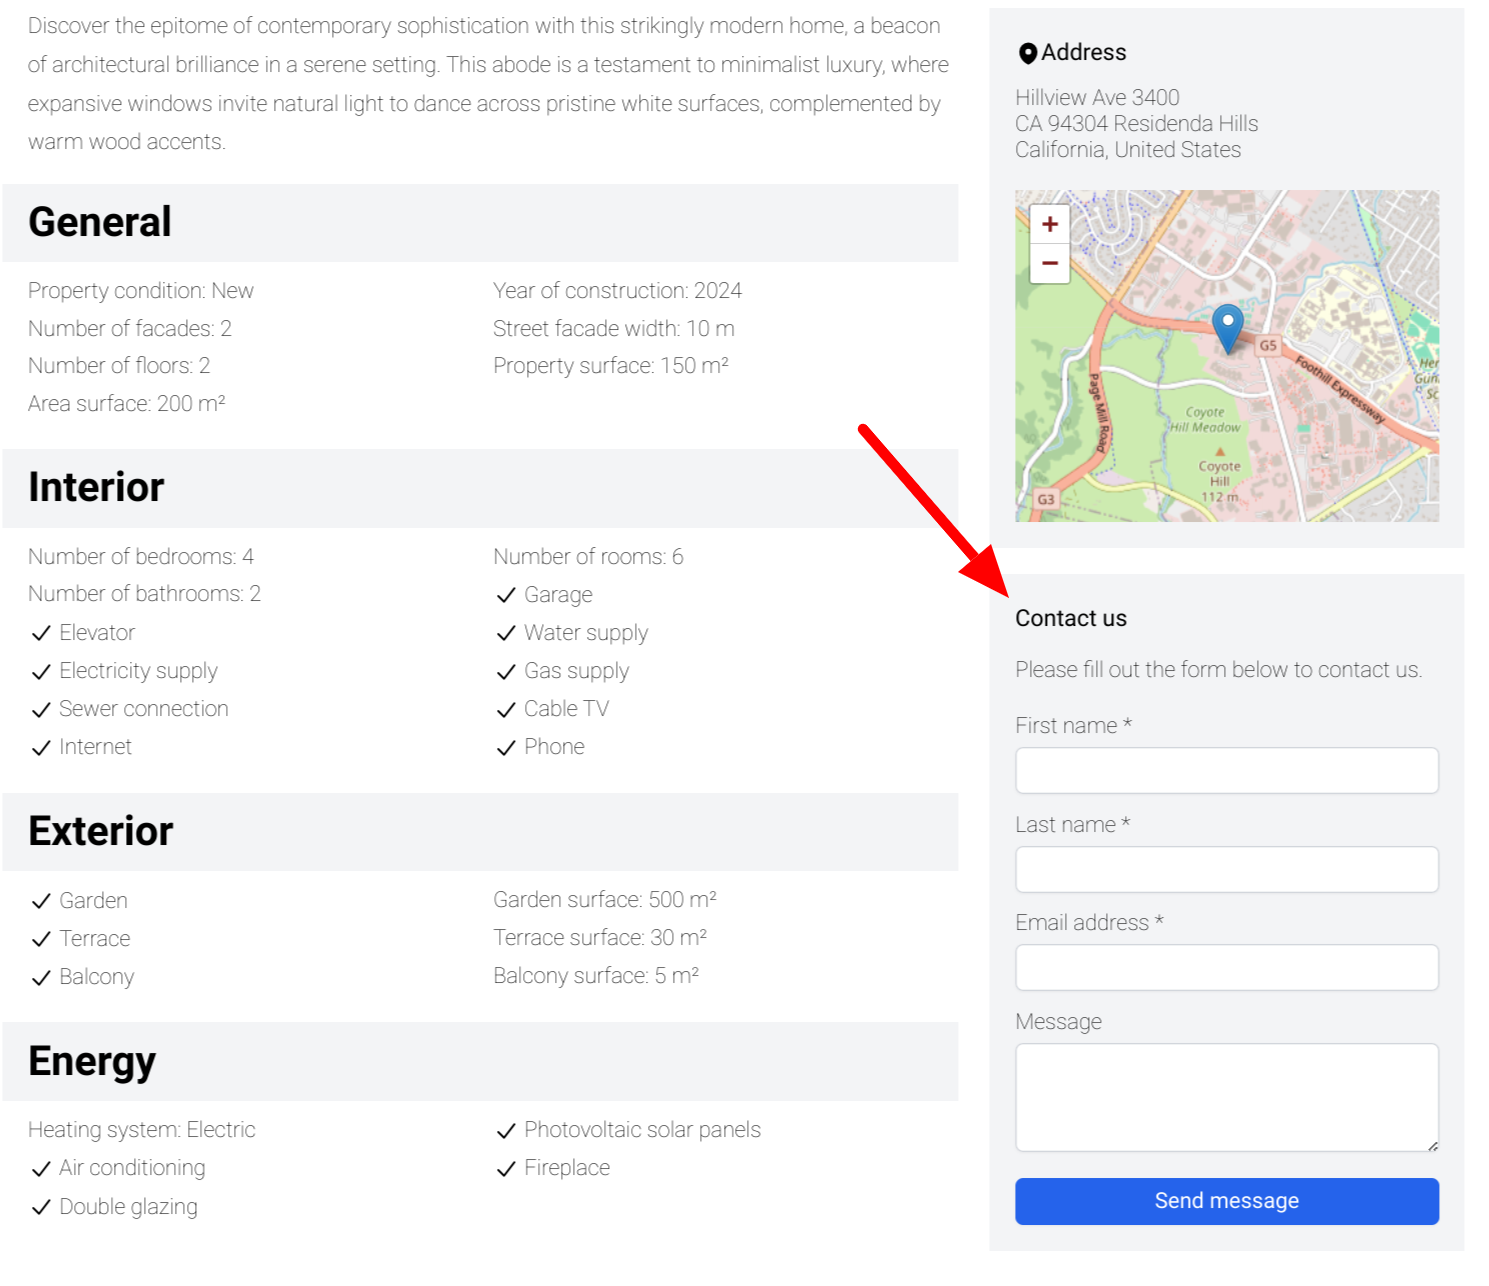
Default Contact Form
When you install Residenda, a contact form with sensible defaults is created for you. It isn’t automatically linked to any properties, but you can easily link it when you're ready. You may want to review the default fields and email notifications and adjust them to fit your needs.
You can define multiple contact forms, each with its own set of fields and email notifications. This is useful if you need to collect different information for different property types. However, for most users, one contact form (applied to all properties) will be sufficient.
Managing Contact Forms
To manage your contact forms, go to the Residenda dashboard and click on the Contact Forms tab. Here, you can see a list of all your contact forms, create new ones, and edit existing ones.
 Click Edit on the contact form you want to adjust. A page will open where you can customize the appearance and behavior of the contact form.
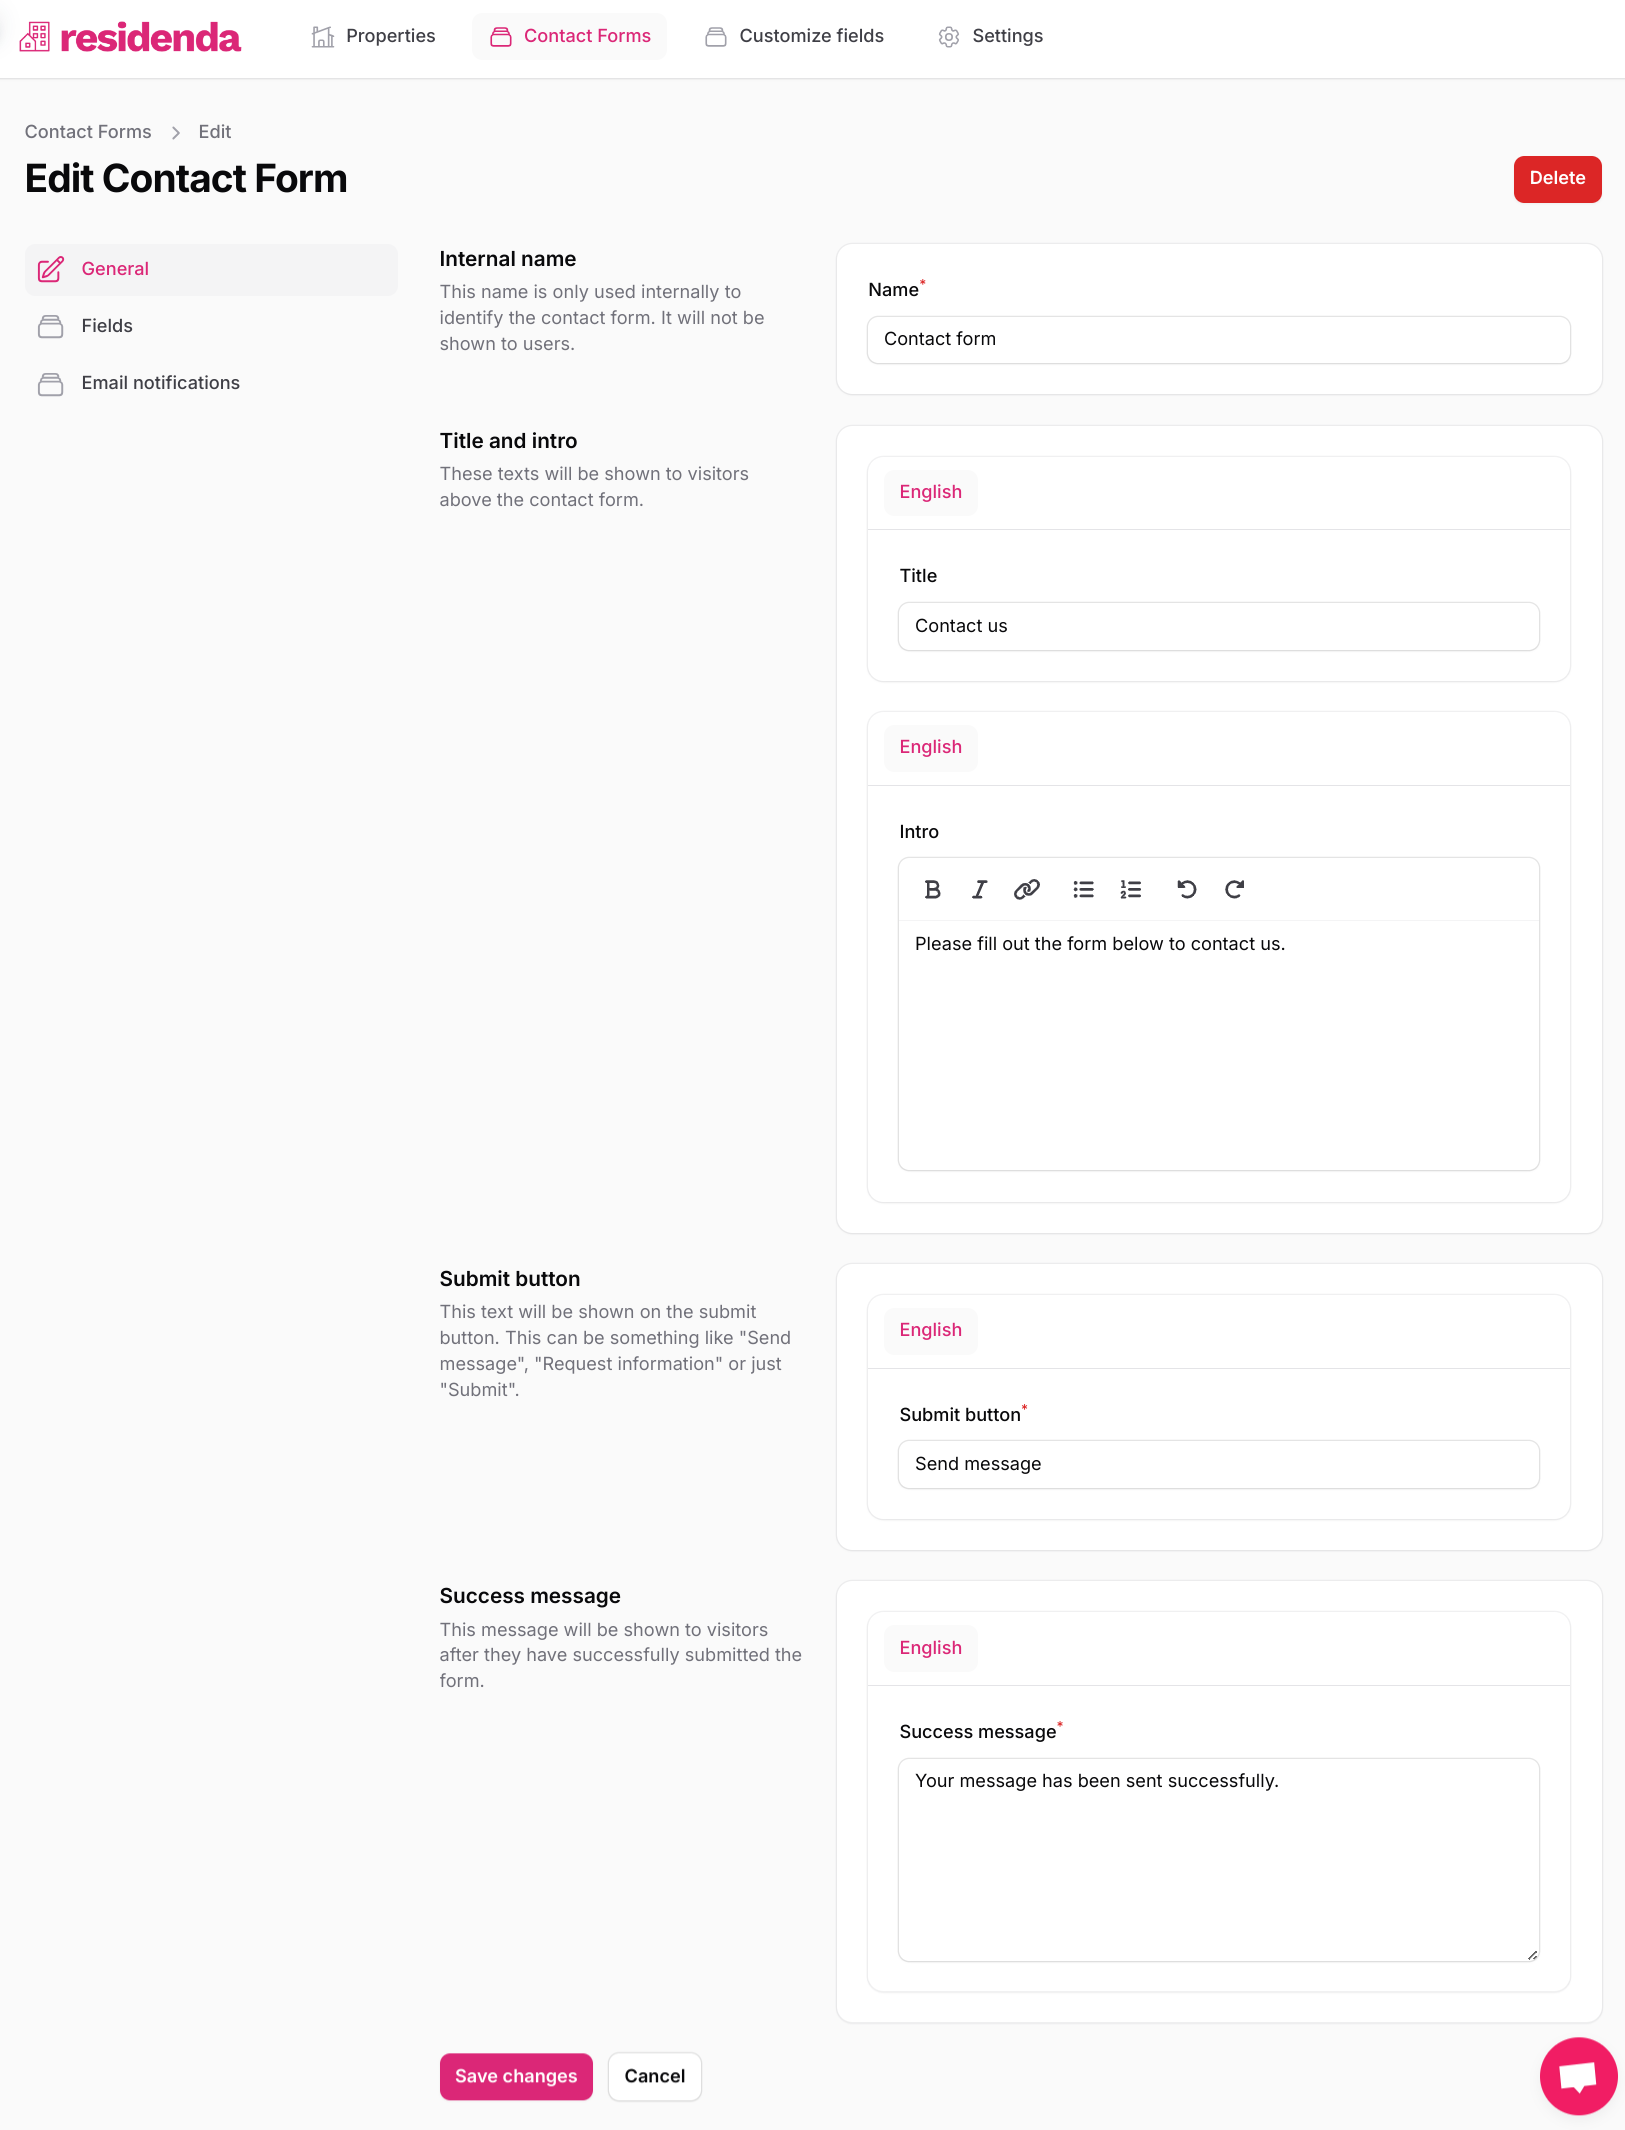
 General Info
In the first submenu of the contact form, you can define the internal name of the contact form and set basic text snippets that will appear on the form.
Fields
To customize the fields in your contact form, click on the Fields submenu. Here, you can add, edit, and remove fields.
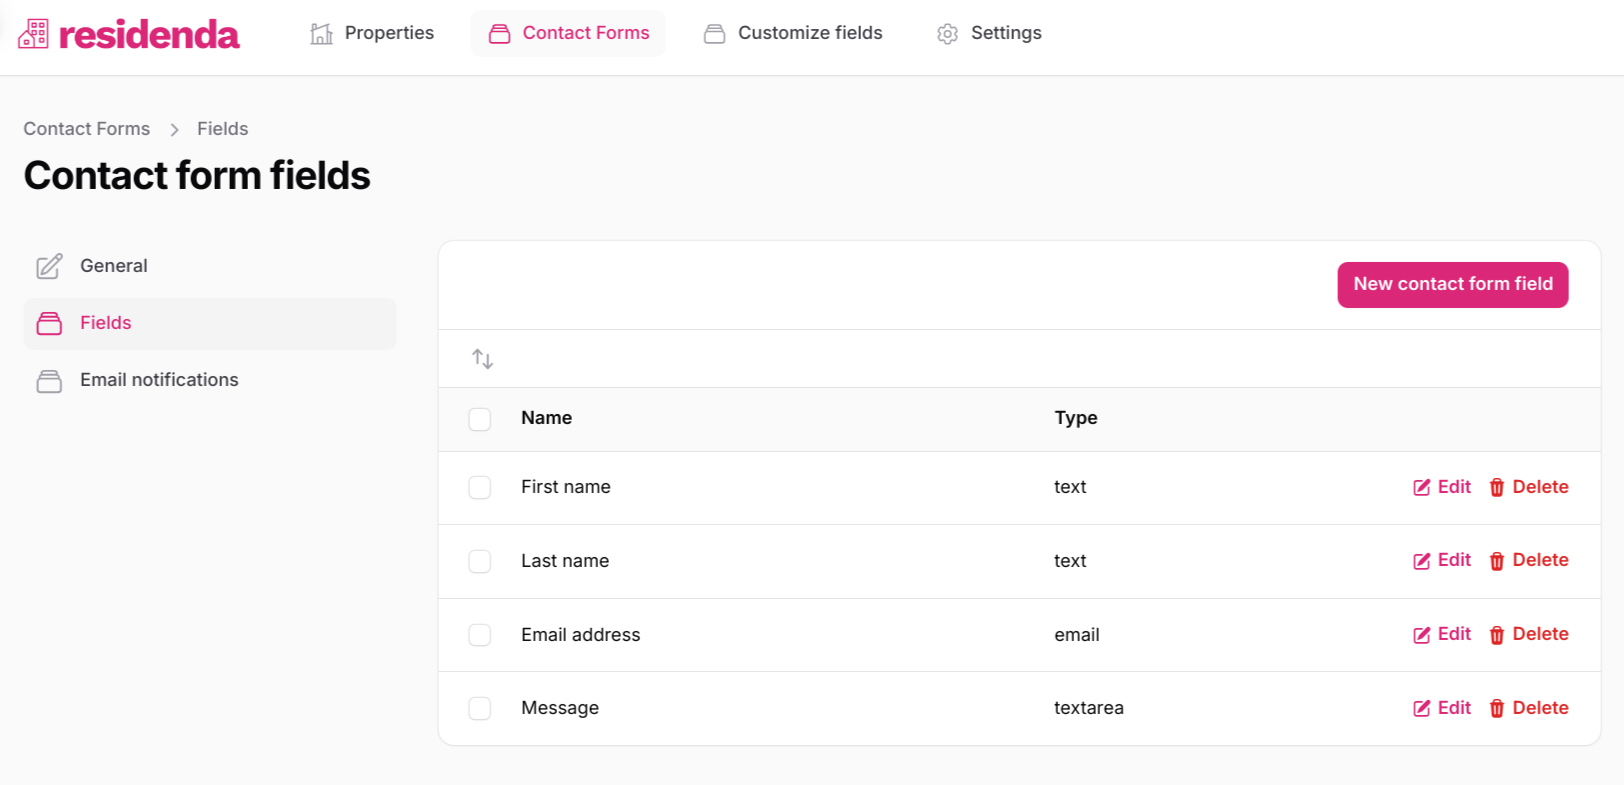 If you want to change the order of the fields, click the icon with arrows pointing up and down. You can then drag the fields into the desired position.
 Email Notifications
To adjust the emails sent when a visitor submits a contact form, click on the Email Notifications submenu.
By default, two notifications are sent: one to the site owner and one to the visitor. You can customize these emails and add additional notifications if needed.
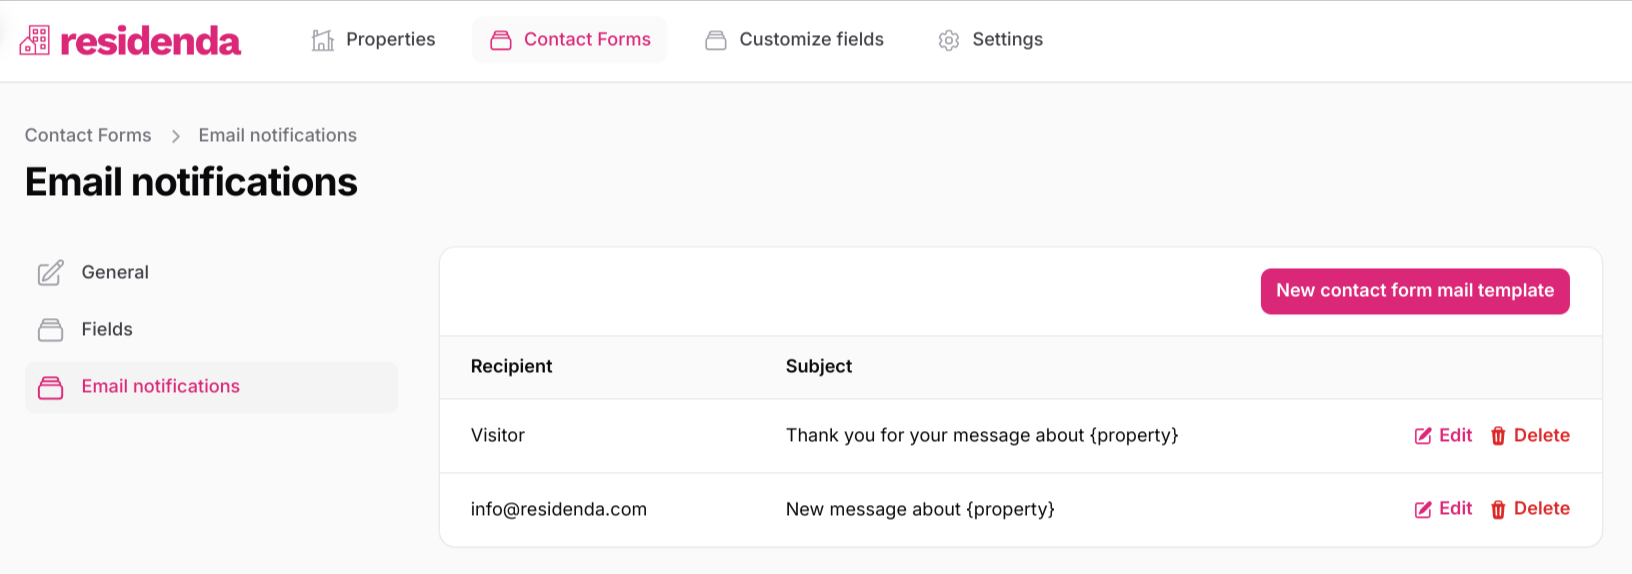
By clicking on any row, you can edit the content and recipients of the email notification. You can use placeholders to include form data in the email.
For email notifications sent to the site owner, you’ll define one or more recipients who will receive the emails. Note that these recipients can be overridden per property, so each property can have its own set of recipients for the contact form.
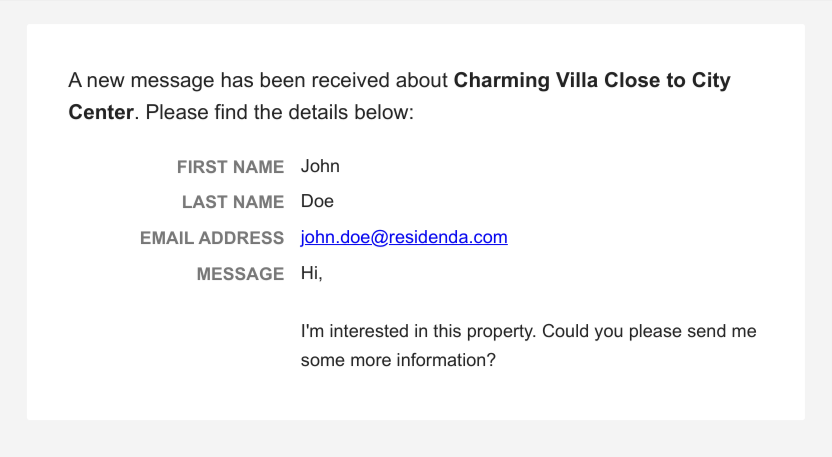
An example of an email notification sent to the site owner.
Adding a Contact Form to a Property
Once you’re happy with your contact form, you can link it to a property. There are two ways to do this:
1. Apply the Contact Form to All Properties
If you want to use the same contact form for all properties, go to the Contact Forms overview page and click Apply to all properties on the contact form you want to use.

2. Apply the Contact Form to a Specific Property
If you want to apply a contact form to a specific property, go to the property in the Residenda dashboard, scroll to the Contact Form section at the bottom, and select the form you want to use from the dropdown. Save your changes, and the contact form will appear on the property's detail page. This process is the same when creating a new property.
If you want to override the recipient(s) for email notifications on a specific property, you can do that here as well.
